back
to TRLE FAQ and community
this tutorial was submitted by tommy tomb raider
visit his site at http://www.angelfire.com/mi4/laras_wardrobe/wardrobe.html
StripX TIPS AND TRICKS
A step by step guide
REQUIRED TOOLS:
There are very few required tools to create your own beautiful and exciting
outfits. Of the ones that are required, the first would be STRPIX3 by Turpo
Pascal. This awesome utility allows you to export individual textures, among
other features, from any available TR wad file and save it as a small bitmap.
These bitmaps are then available for re-coloring.
The next required tool would be some sort of paint program. There
are several available, MS PAINT comes with windows, so nearly everyone should
have it. There are plenty of others though, some offer a free trial download
on the net. I use MGI PHOTO SUITE 8.0.
The final required item is your imagination! So far, I've had fairly good luck
figuring out how to do nearly every outfit that I've dreamed up.
HELPFUL HINTS:
Personally, I like to organize my project into different sections. This makes
it much easier to complete one part of Lara before going on to the next. Also,
all of your re-colored textures are easy to find should you have to go back
and make a correction.
The technique that I use is as follows: First, I create a folder to put the
project in. Typically I give the outfit it's name based on what I'm planning.
Within that folder, I copy the WAD file that I'm going to use, for example coastal.
WAD. This you copy from your TRLE/graphics/wads folder. The final step
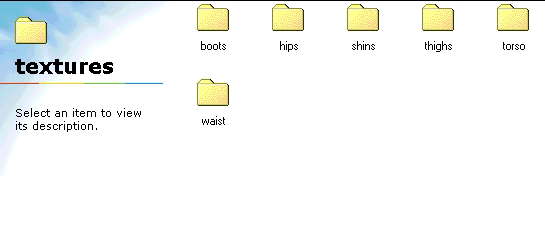
in preparing my project is to create a "Texture Package". This is no more than
a series of empty folders labeled as such...

Often there are more files within the package, sometimes less. It all depends
on how involved your project is going to be.
Now you're ready to Fire up STRPIX3 and let's go! Load up the WAD file that
you're going to work with. It should look something like this...

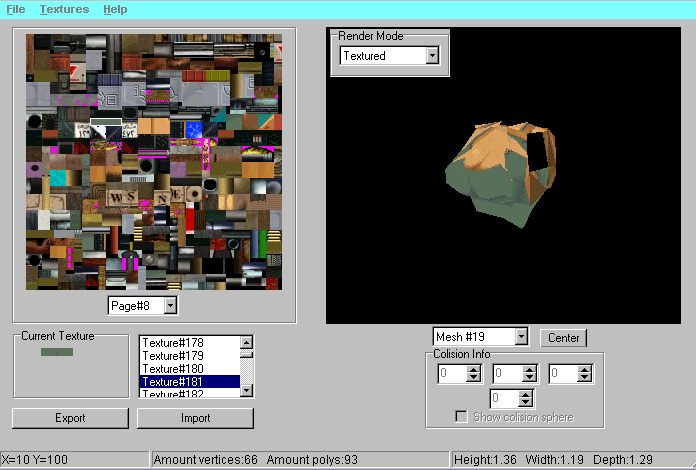
By scrolling through the meshes, you can view all of the different parts that
make up a level. The 'Render Mode' box lets you select between wireframe, solid,
or textured views in the right hand window. The left hand box displays the texture
map, the current 'active' texture, and it's reference number. For more detailed
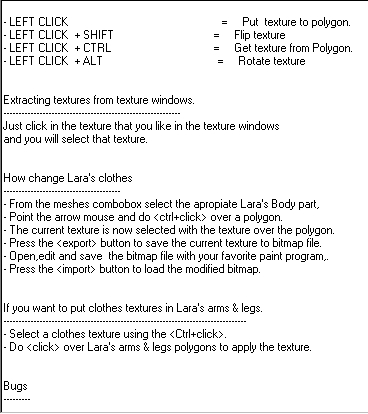
listings of what everything is and does, click on the help button and go to
keys guide. For ease of the moment, I've copied part of it here...
 |
NOTE: you have to use the page down button to view
the entire help screen.
MPORTANT NOTE!
Don't forget to make a backup copy
of the original .WAD before modifying anything!
WADFIXER, by Colin Grigson is another super
utility you can use to restore your original .WADs.
Find it on the TOOLS page! |
Once you've gotten this far, you're now ready to
begin exporting the individual textures for editing. By pressing Ctrl while
left clicking the mouse, on whichever part of the mesh model you want, the active
texture will be displayed on the left side. Use this feature to locate every
texture that you want to edit. You can scroll up and down through the texture
map on the left and find them, but it's nearly impossible to find them all.
Once you have the texture you want active, click export. Be sure that the texture
number is highlighted (texture 181 in the picture above). You'll be asked where
to save. Since you've already created all the empty folders, open the one corresponding
to the body part you are working on and save it there. When you're done, it
should look something like this...

Repeat this procedure for each texture on every part of the mesh,
and for every mesh that you want to retexture. Also, take your time to become
familiar with where each texture fits into the 'Lara puzzle", as it makes re-coloring
that much easier. To do this, check out the wireframe and solid displays as
well. You'll get a view of exactly how many pieces there really are. I've found
that it helps to recolor an entire section (i.e. the torso), by using your favorite
paint program, before re-importing the new textures. This is where the 'imagination'
part comes in. If you have an idea of what you want the finished outfit to look
like, then re-coloring is a breeze. If not.....
Once you've edited everything, you're ready to re-import your new textures
back into the WAD. Again, find the textures either in the mesh window, by using
the ctrl-click method, or by scrolling through the textures on the left. HINT:
most of these textures for any given part are in numerical order, so if you
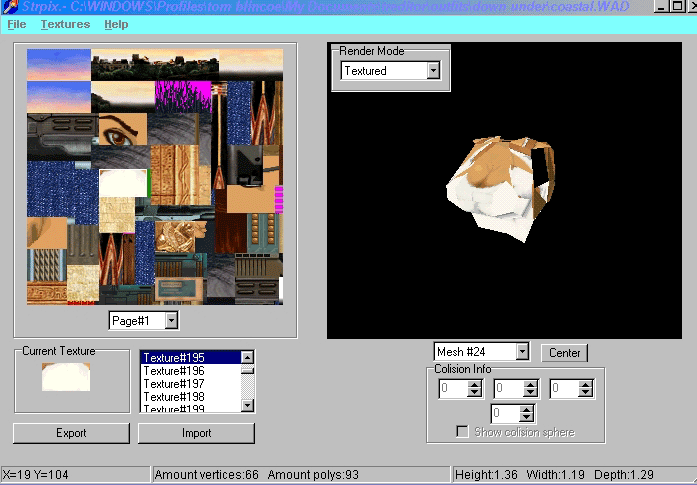
start at the beginning and work you're way down, it'll go much faster. For example...

The highlighted texture is Tex #195. These textures are usually in order. Simply
highlight the texture that you want to import, and click import. Once at your
'texture package folder' double click the "improved" icon. Repeat this for every
texture on the mesh and wait for your new outfit to begin to appear.
That's all there is
to it! Once you've modified everything you want to, COPY your new WAD into your TRLE/graphics/wads folder
and use the level converter to build it up.
IMPORTANT NOTE: Be certain that you
make a backup copy of the original WAD.
PROBLEMS THAT I'VE ENCOUNTERED:
The first and possibly the worst problem
that I've encountered thus far results in re-coloring the small (4x4) flesh
textures used in Lara's arms, legs, and joints. Some of these same textures
are used in her face and other parts. Changing these can have disastrous results.
If you need to re-texture one of these, be certain that it's not used in another
place that you don't want changed.
Usually these are in Lara's face, being her cheeks and under her chin. Another
common one is Lara's elbows and knees. You might decide; for example, to give
her a bai of long blue pants. You have successfully exported, re-colored and
re-imported every texture that is used in Lara's legs. But when you scroll through
the meshes, you see that her cheeks and elbows are now blue as well. I usually
use the same mesh for the lower leg as I did for the upper thigh. For example,
find the texture used in her thigh by clicking with CTRL-LEFT CLICK and assign it to each poly in the
lower leg with LEFT CLICK. don't forget to locate and modify
the knees and/or elbows!
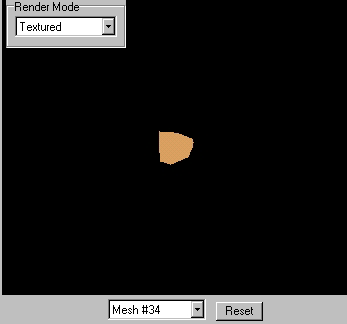
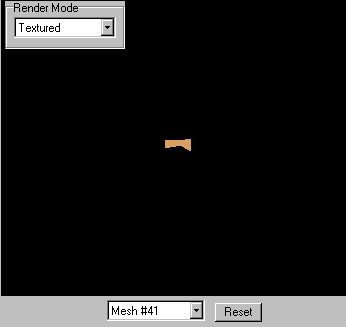
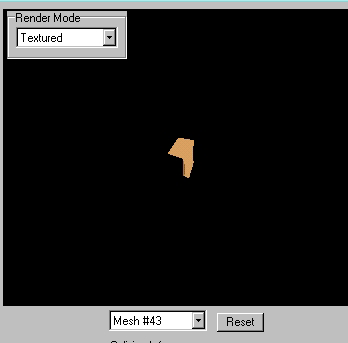
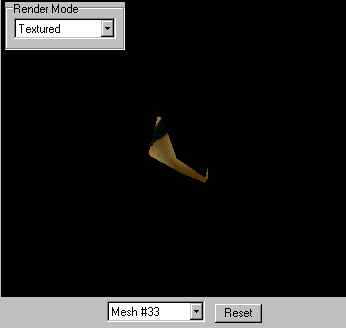
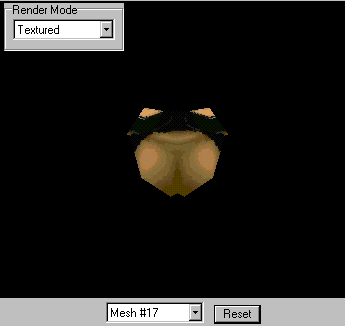
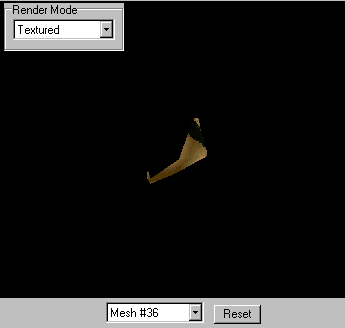
STRPIX3 WINDOWS OF MISCELLANEOUS MESHES

(LEFT) KNEE turned
a bit
from its original position. |
|

(LEFT) ELBOW as seen
in 'centered' position |

NECK Turned slightly
from 'centered position |
|

RIGHT SHOULDER as viewed
in 'centered' position |
Another useful bit of info would be that Lara's hips are actually made up of
three different meshes, as is her torso (she has shoulders as well). It would
be pointless to say EXACTLY which mesh numbers they are, since they are different
in every WAD. But they will be close in numbering.
So far, that's about all. Have fun
and be original. If I come up with more tips, I'll be certain to add them in.
Also, I'll be adding more "helps" to this page when I get them done. I hope
to be able to include such tools as TR2WAD, TRWEST, WADMERGER, and others once
I get to it.
